
Planting
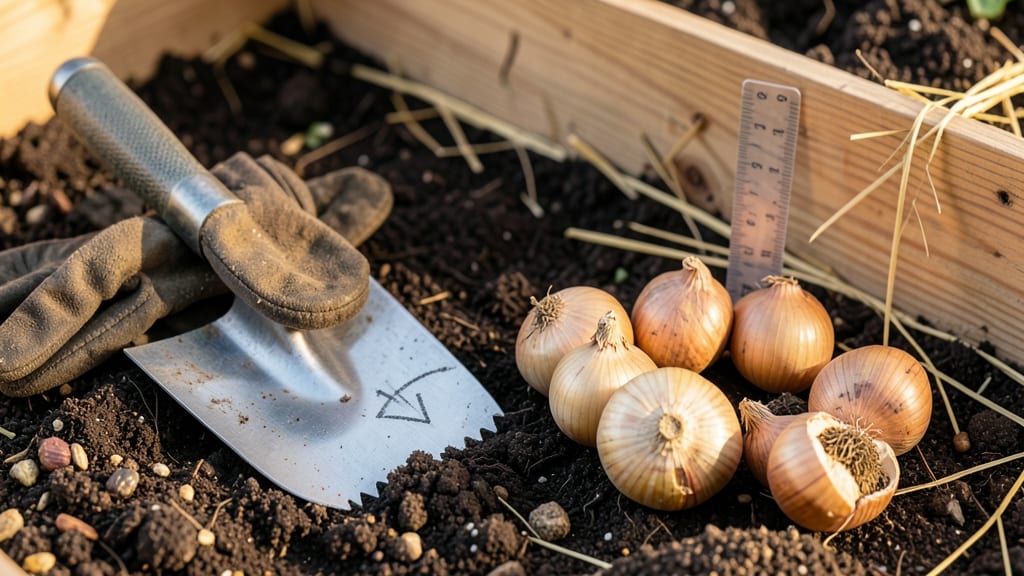
To plant tulip bulbs the right direction means placing the pointed end up and the flatter, root side down—otherwise, you might wait years for blooms or never see them at all 🌷.
Planting tulip bulbs the wrong way can leave you waiting years for blooms—or worse, no flowers at all. The secret to vibrant spring displays lies in a simple but critical step: getting the direction right.
Most gardeners overlook this detail, assuming bulbs are interchangeable. But tulips are picky—their growth depends on the bulb’s natural orientation, which determines how roots anchor and stems push upward. A quick check before planting saves frustration later.
Below, I’ll walk you through how to spot the top and bottom of a tulip bulb, the exact depth and spacing for healthy growth, and what happens if you get it wrong. By the end, you’ll plant with confidence—and your spring garden will thank you.


How to identify tulip bulb orientation: root side down vs. stem side up
Planting tulip bulbs correctly is easier than you think—once you know what to look for. Many gardeners accidentally plant them upside down, which can delay blooms or even prevent flowers altogether.
The key lies in understanding the bulb's natural structure: the root base, the stem end, and the pointed tip. Let me show you how to spot these features so you can plant with confidence.
First, examine the bulb's bottom side. This is where you'll find the root base, which often looks slightly flattened or has small indentations where roots will emerge.
Unlike onions, tulip bulbs don't have a uniform shape—they're more rounded on top and flatter at the base. This natural asymmetry is your first clue for proper orientation.
Next, look for the pointed tip at the top. This is where the stem will grow, eventually pushing up through the soil to produce your beautiful blooms. The tip is usually more tapered and may even have a tiny bump or depression where the stem will emerge.
If you're unsure, gently squeeze the bulb—this can help reveal its natural structure.
Here’s a common mistake: assuming the largest side is the top. Some bulbs, especially larger varieties, might appear more symmetrical, making it tricky to distinguish the root base.
In these cases, focus on the texture—the root base often feels slightly rougher due to the emerging roots, while the stem end is smoother.
| Feature | Description | Planting Direction |
|---|---|---|
| Root Base | Flattened or slightly rough; may have small root growth | Down |
| Pointed Tip | Tapered, often with a small bump or depression | Up |
| Smooth Side | Upper portion where stem emerges | Up |
| Largest Side | Can be misleading—focus on texture, not size | Not always reliable |
If you’re still unsure, try this quick test: hold the bulb in your hand with the pointed tip facing upward. The root base should naturally settle toward your palm.
If it feels unstable or wobbly, you’ve likely got it right! This tactile check is especially helpful for bulbs that look symmetrical at first glance.
Another trick is to look for the stem scar on the bulb’s side. Tulip bulbs often have a small, circular scar where the previous year’s stem was attached. This scar is usually located near the top of the bulb, closer to the pointed tip.
When planting, position the bulb so this scar faces slightly upward—this aligns with the stem’s natural growth direction.
Once you’ve identified the correct orientation, resist the urge to overthink it. Tulip bulbs are remarkably resilient, and even if you plant them slightly off-center, they’ll often correct themselves over time.
However, planting them completely upside down can stunt growth or prevent blooming altogether, so taking the extra few seconds to get it right is worth the effort.
Pro tip: If you’re planting multiple bulbs, lay them out on a flat surface before digging. This lets you compare their shapes and orientations at a glance, reducing the chance of mistakes.
You can even use a small marker or piece of tape to label the correct side if you’re feeling extra cautious.
Remember, the goal is to mimic the bulb’s natural position in the ground. In their native habitats, tulips grow in soil where the roots naturally extend downward, while the stem reaches upward toward sunlight.
By planting them with the root base down and the pointed tip up, you’re giving your tulips the best possible start for a stunning spring display.
Now that you’ve mastered the art of identifying tulip bulb orientation, you’re ready to move on to planting with confidence. Just think: every bulb you plant correctly is one more step toward a garden bursting with color next spring! 🌷
Step-by-step guide to planting tulip bulbs in the correct direction
Now that you’ve identified your tulip bulb’s pointed end and root base, it’s time to plant them correctly for healthy blooms next spring. The direction matters because tulips grow upward from their stem base, not their roots.
Planting them upside down won’t kill the bulb immediately, but it can delay—or even prevent—flowering for 1-2 years.
For best results, plant your tulip bulbs in well-draining soil during their ideal window of September to November, before the ground freezes. This timing ensures the bulbs establish roots in cool fall temperatures while avoiding winter dormancy stress.
If you’re in a warmer climate (Zones 8-10), plant in winter (December-February) to mimic natural conditions.
- 1 Choose the right location: Select a spot with 6+ hours of full sun and well-draining soil. Tulips hate soggy roots, so amend heavy clay with compost or sand if needed.
- 2 Dig holes 6-8 inches deep: Use a trowel or bulb planter to create holes 3x the bulb’s height. Space bulbs 4-6 inches apart for dwarf varieties or 6-8 inches apart for standard-sized tulips.
- 3 Plant with the pointed end up: Place the bulb in the hole so the sharp, pointed tip faces upward (this is the stem end). The flatter, root side should face downward. Avoid pressing the bulb too firmly—it needs room to grow.
- 4 Cover with soil and water: Backfill the hole with soil, leaving no air pockets. Gently water the area to settle the soil. Avoid overwatering, as tulips prefer moderate moisture during dormancy.
- 5 Add mulch for protection: Apply a 2-inch layer of mulch (straw or shredded leaves) to insulate bulbs from freezing temperatures and spring thaw cycles. Remove mulch in early spring once shoots appear.
- 6 Fertilize lightly in spring: Once shoots emerge, apply a balanced fertilizer (10-10-10) at half-strength to encourage strong foliage. Avoid high-nitrogen fertilizers, which promote leafy growth over blooms.
After planting, resist the urge to fertilize in fall—tulips store nutrients in their bulbs naturally. Instead, focus on soil quality by adding compost or bone meal (for phosphorus) at planting time.
This supports root development and next year’s blooms. In climates with harsh winters, consider adding a thin layer of straw over the mulch for extra insulation.
With the correct direction, depth, and spacing, your tulip bulbs will reward you with bold, vibrant blooms in spring. Remember, patience is key—some varieties take 2-3 years to reach their full flowering potential, especially if planted in less-than-ideal conditions.
But once established, many tulips will rebloom year after year with minimal care.