
Transplanting
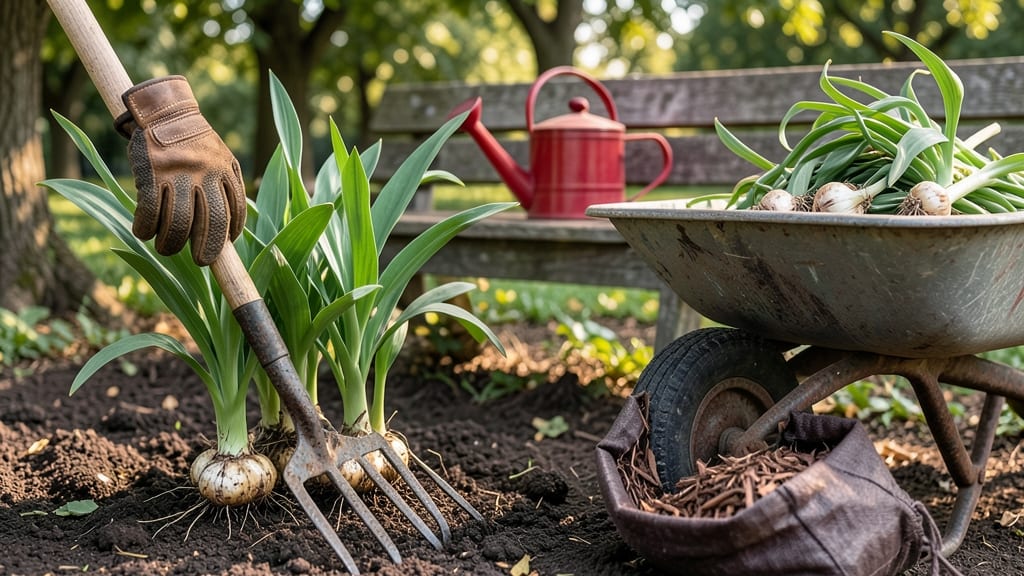
To move lily bulbs at the right time ensures they thrive in their new home without shock or stress — and the best window is narrower than you might think.
Picture this: you dig up your 🌸 lilies in late summer, only to watch them wilt before ever blooming again. That’s what happens when you move them while they’re still actively growing.
The secret? Wait until they’ve finished flowering and the foliage starts yellowing naturally — a sign they’re entering dormancy and ready for a fresh start.
For most gardeners in Zone 6, that means late September or early October, when the soil is still warm but the air has a crisp edge. But if you’re in a warmer climate, early spring (March) works just as well.
The key is giving those bulbs time to establish roots before the next growing season kicks in.
Below, I’ll walk you through the exact steps to prep your lilies, where to plant them for success, and how to avoid the three biggest mistakes that turn a simple move into a gardening disaster.
Best months to move lily bulbs for optimal growth
Timing is everything when it comes to moving lily bulbs. Transplanting at the wrong time can shock your plants, leaving them vulnerable to disease or poor growth.
The best windows are early fall (September-October) or late winter (February-March), when bulbs are naturally dormant and less stressed by the move. This science-backed approach ensures your lilies establish strong roots before their next growing season.
Lily bulbs enter dormancy after flowering, making fall transplanting ideal for most climates. In USDA Zones 7-10, aim for late September to early October—just before the first frost.
For cooler zones (3-6), shift to October-November to give roots time to settle before winter. Late winter moves (February-March) work too, but require careful handling to prevent bulb rot.
Here’s how climate zones impact your timing:
For early fall moves, wait until foliage yellows and dies back—a sign the bulb has completed its energy storage. Dig carefully, keeping root balls intact to minimize damage.
Store bulbs in a cool, dry place (40-50°F) if you can’t replant immediately, but aim to move them within 2-3 weeks to prevent dehydration.
Late winter moves require extra caution. Bulbs are still dormant but begin waking as temperatures rise. Time your move for February-March in cooler zones, or January-February in warmer areas.
Avoid moving if shoots have already emerged, as this stresses the plant. Instead, wait until roots are visible but stems are still dormant.
Regardless of timing, soil temperature matters. Ideal transplanting soil should be 50-60°F. Use a soil thermometer to check—if temps are higher, delay until conditions cool.
In hot climates, early morning moves reduce bulb stress from heat exposure. Always water deeply before and after moving to encourage root growth.
One common mistake is transplanting during active growth, like spring or summer. Lilies in bloom or with new leaves are highly sensitive to disruption. Their energy is focused on flowering, not root recovery.
If you must move during these times, prune foliage by 1/3 to reduce stress and water daily for 2 weeks post-move.
After transplanting, mulch heavily (3-4 inches) with organic matter like straw or shredded leaves. This retains moisture and regulates soil temperature. In fall moves, mulch helps insulate bulbs through winter.
For spring moves, mulch shields new roots from drying winds. Avoid synthetic mulches—they can overheat bulbs and cause rot.
Signs your transplanted lilies are thriving include vigorous new shoots within 3-4 weeks and deep green foliage by late spring. If leaves appear yellow or wilted, it may signal root damage or overwatering.
Adjust care by reducing water and ensuring well-draining soil. With the right timing, your lilies will reward you with bold blooms next season.
How to prepare lily bulbs for transplanting: step-by-step guide
Transplanting lily bulbs requires careful timing and preparation to ensure they thrive in their new home. The key is to move them when they're in dormancy—after foliage has died back but before freezing temperatures set in.
This minimizes stress and gives roots time to establish before winter. For most USDA Zone 6 gardens, late summer to early fall (August-September) is ideal, but adjust based on your local climate.
Before you dig, inspect your lilies for healthy signs. Look for fully yellowed or browned leaves—this signals the bulb has completed its growing cycle and stored energy for next year.
Avoid moving bulbs with green foliage, as this indicates active growth that can be disrupted. If you're unsure, wait another 2-3 weeks to observe further leaf changes.
✅ Step-by-Step Lily Bulb Transplanting Checklist
- Step 1: Wait until foliage is fully yellow (late summer/early fall) or ground thaws in spring (March-April). Never move during active bloom or green leaf stages.
- Step 2: Dig bulbs using a garden fork, lifting gently to avoid damaging roots. Shake off old soil but don’t wash bulbs—this removes protective layers.
- Step 3: Inspect bulbs for soft spots or mold. Discard any damaged bulbs to prevent disease spread in your new planting site.
- Step 4: Prepare the new spot with 6-8 inches of compost mixed into the top 12 inches of soil. Lilies need well-draining soil with a pH of 6.1-7.5.
- Step 5: Plant bulbs 6-8 inches deep and 6-12 inches apart (closer for dwarf varieties). Point the growth tip upward—it’s usually on the smaller end.
- Step 6: Water deeply after planting to settle soil and encourage root contact. Mulch with 2-3 inches of organic mulch to retain moisture.
- Step 7: Avoid fertilizing for 6-8 weeks post-transplant. Instead, focus on consistent watering (1 inch per week) until new shoots appear.
🌱 Pro Tip: Label your new lily beds! Bulbs look similar, and tracking varieties helps future planning.
After transplanting, your lilies may take 2-3 weeks to show signs of new growth. During this time, monitor for wilting or yellowing leaves, which could indicate transplant shock. If soil feels dry 1 inch below the surface, water lightly—but avoid soggy conditions, which rot bulbs.
In hot climates, provide afternoon shade for the first month to reduce stress.
For container-grown lilies, use pots with drainage holes and a mix of 50% potting soil and 50% perlite to prevent waterlogging. Move containers to a shaded, sheltered spot during winter if temperatures drop below 20°F.
Remember: lilies in pots need annual repotting to refresh nutrients and prevent root-bound stress.
With proper timing and care, your transplanted lilies will reward you with vibrant blooms next season. The secret lies in patience—rushing the process or skipping steps often leads to bulb decline. Treat your lilies like the delicate perennials they are, and they’ll thrive for years to come.