
Container Gardens
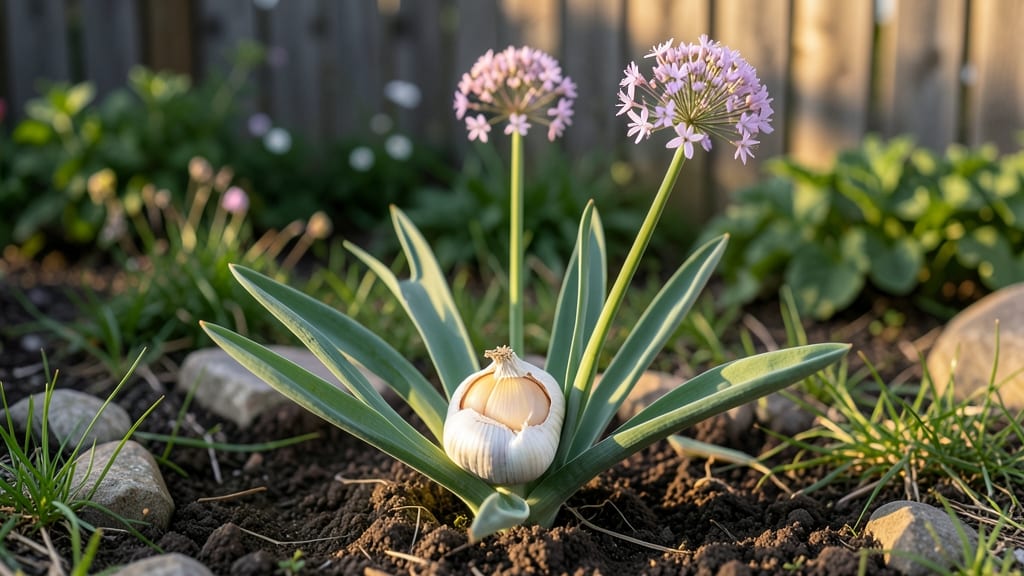
Growing garlic from bulbs means your kitchen will smell like summer in 8 months—not next year. 🌱 I planted my first cloves last October, and by June, I was pulling plump, flavorful bulbs straight from the ground.
The secret? Planting at the right time, in the right spot, and giving those cloves the space they need to multiply underground.
You only need three things to start: hardneck or softneck garlic bulbs (split into individual cloves), loose, well-draining soil, and 6+ hours of sunlight daily.
No fancy tools—just a trowel, a little patience, and the knowledge that garlic grows best when planted 6-8 weeks before your first hard frost. That’s it. No greenhouses, no hydroponics, just good old dirt and time.
By harvest time, you’ll be pulling 3-5 times the number of cloves you planted, each one packed with flavor. The bulbs cure beautifully for storage, and you’ll have enough to share (or freeze for winter soups).
The best part? Garlic’s natural pest-repelling properties mean fewer weeds and healthier neighboring plants too.
Works in containers, raised beds, or straight in the ground—just adjust spacing for your setup. Here’s how to do it right, step by step, without the guesswork. Let’s get those cloves in the soil!
📚 In This Guide
- What you need
- Instructions
- Tips and common mistakes
- Wrapping up and next steps
What you need
- ● Garlic bulbs (cloves): 12–20 hardneck or softneck varieties (e.g., Rocambole, Silverskin, or Artichoke). Choose organic, disease-free bulbs from a trusted supplier.
- ○ Growing containers (optional but great for small spaces): 5–7 gallon pots per 3–4 cloves (depth: 12+ inches)
- ● Drainage holes (critical to prevent rot!)
- ● Well-draining soil: Mix 60% potting soil + 30% compost + 10% perlite/sand (for aeration). Aim for a pH of 6.0–7.0.
- ● Fertilizer: Balanced organic fertilizer (e.g., 5-5-5 or 10-10-10) at planting.
- ● Low-nitrogen fertilizer (e.g., 0-10-10) mid-season (March–April).
- ● Garden trowel or small shovel (for planting cloves 2x deeper than their height).
- ● Measuring tape or ruler (to space cloves 4–6 inches apart in rows).
- ● Mulch (straw or leaves) (2–3 inches thick to insulate roots and retain moisture).
- ● Watering can or hose with gentle spray (garlic hates soggy soil!).
- ○ Garden gloves (optional but handy for handling soil and cloves).
- ○ Row covers or frost cloth (optional, for late-winter protection in cold climates).
- ● Timing: Plant cloves 4–6 weeks before your first frost (typically October–November in most U.S. zones).
- ● Sunlight: Full sun (6+ hours/day)—garlic craves warmth!
- ● Patience: Garlic takes 8–10 months to mature. Mark your calendar!
- ● Space: If container-growing, ensure pots are not overcrowded (1 clove per 3–4 sq. inches).
Step-by-step instructions for growing garlic from seed bulbs
Here’s how to grow plump, flavorful garlic bulbs—no fancy tools needed, just patience and the right timing.
🌱 Step 1: Select and Prepare Your Garlic Cloves
Choose hardneck garlic varieties for best results—they produce the largest bulbs and flavorful cloves. Break apart a whole bulb into individual cloves, keeping the paper-thin skin intact (this protects against rot). Discard any soft, shriveled, or sprouted cloves—they won’t grow well.
Soak the selected cloves in lukewarm water for 12 hours before planting. This softens the outer skin and jumpstarts root growth. After soaking, let them dry on a paper towel for 1-2 hours so they don’t rot in cold soil. Planting too soon after soaking can drown the cloves.
🪴 Step 2: Plant Cloves in Well-Draining Soil
Garlic thrives in loose, well-draining soil with a pH between 6.0 and 7.0. Work in 2-3 inches of compost or well-rotted manure to enrich the soil before planting. If your soil is heavy clay, mix in sand or perlite to improve drainage—garlic roots hate soggy conditions.
Plant cloves pointy-end up, 2 inches deep, and 4-6 inches apart in rows. Space rows 12 inches apart to allow airflow and easy harvesting. In colder climates, plant in fall (October-November) so cloves establish roots before winter. In warmer zones, plant in winter (December-January) for a spring harvest.
☀️ Step 3: Provide Sun and Minimal Watering
Garlic needs full sun (6+ hours daily) but tolerates partial shade in hot climates. After planting, water lightly to settle the soil—don’t soak it. Once shoots emerge in spring, water deeply once a week, aiming for 1 inch of water total. Too much water causes rot; too little stunts growth.
When green shoots reach 4-6 inches tall, add a low-nitrogen fertilizer (like 5-10-10) to encourage bulb development. Avoid high-nitrogen fertilizers—they promote leafy growth at the expense of bulb size. Mulch with 2-3 inches of straw to retain moisture and suppress weeds.
⏰ Step 4: Monitor Growth and Harvest at Peak Time
Garlic is ready to harvest when lower leaves turn brown but top leaves stay green. This usually happens 7-8 months after planting, often in late June or early July. Gently loosen soil around the bulbs with a fork, then pull them up. Let them cure in a dry, shady spot for 2-3 weeks—this toughens the skins and prevents spoilage.
Don’t harvest too early (small bulbs) or too late (cloves separate). After curing, braid or store bulbs in a cool, dark place (like a mesh bag in the fridge) for up to 6 months. The longer they cure, the better the flavor—and the longer they’ll keep.
✂️ Step 5: Save Seeds for Next Year (Optional)
If you loved your harvest, save a few hardneck bulbs for next season. Choose the largest, healthiest bulbs and store them in a cool, dry place until planting time. Hardneck garlic doesn’t reproduce true from seed—planting cloves ensures strong, flavorful regrowth.
Here’s the thing—garlic improves with age. The first year’s harvest might be small, but each subsequent year yields bigger, more robust bulbs. Patience pays off, and soon you’ll have enough to share (or freeze for winter cooking).
Tips & tricks for growing plump garlic bulbs
Patience and preparation make all the difference when growing garlic—here’s how to avoid common pitfalls and maximize your harvest.
The Soaking Secret: That 12-hour soak in lukewarm water isn’t just about softening the skin—it jumpstarts root growth. Use a glass jar so you can see the roots forming! After soaking, spread cloves on a paper towel and let them dry for exactly 1-2 hours. If they feel damp when planting, they’ll rot in cold soil. I learned this the hard way after losing an entire batch to soggy cloves.
Soil Prep Matters: Garlic roots need room to breathe, so don’t skip the compost or sand mix if your soil is heavy. Test your soil’s pH first—garlic thrives between 6.0 and 7.0. If your soil is too acidic, add lime before planting. I’ve seen garlic planted in perfect conditions fail because the soil was too compacted—roots need space to grow downward.
Planting Precision: Those 2-inch planting depths and 4-6 inch spacing aren’t arbitrary—they prevent overcrowding which leads to small bulbs. Use a ruler to measure depths consistently. For rows, mark your spacing with stakes before planting to ensure the 12-inch separation. I’ve found that planting in a grid pattern (rather than random rows) makes harvesting easier later.
Harvest Timing: The 7-8 month window is critical—harvest too early and you’ll get tiny bulbs; too late and the cloves separate. Look for the classic "lower leaves brown, top leaves green" signal. I’ve found that pulling a test bulb after 6 months helps me time the harvest perfectly. After pulling, let bulbs cure in a shady, well-ventilated spot for exactly 2-3 weeks—this toughens the skins and preserves flavor.
Pro Tips for Garlic Growing Bulbs
- Patience and preparation make all the difference when growing garlic—here’s how to avoid common pitfalls and maximize...
- The Soaking Secret: That 12-hour soak in lukewarm water isn’t just about softening the skin—it jumpstarts root growth...
- Soil Prep Matters: Garlic roots need room to breathe, so don’t skip the compost or sand mix if your soil is heavy. Te...
Frequently asked questions
Got questions about growing garlic from bulbs?
You’re not alone! Whether you’re a first-timer or a seasoned gardener, here are the answers to the most common queries—so you can grow plump, flavorful garlic with confidence.
When is the best time to plant garlic bulbs?
Plant garlic bulbs in fall (8–12 weeks before your first hard frost) for the best results. This gives them time to establish roots before winter dormancy. In warmer climates (zones 7–10), plant in late fall or winter. Avoid spring planting—it often leads to smaller bulbs.
Can I grow garlic indoors or in containers?
Yes! Garlic thrives in containers if they’re at least 12 inches deep with well-draining soil. Use a 5-gallon pot per bulb cluster and place it in full sun (6+ hours/day). Just mimic outdoor conditions—cool winters and warm summers—for the best flavor and bulb size.
Why aren’t my garlic bulbs forming properly?
Small or misshapen bulbs often mean too much nitrogen (lush leaves but no bulbs) or poor soil drainage. Try these fixes:
- Use a balanced fertilizer (5-10-10) in early spring.
- Ensure soil drains well—garlic hates soggy roots!
- Space bulbs 4–6 inches apart for airflow.
Do I need to separate garlic cloves before planting?
Yes! Break apart the bulb into individual cloves (leave the papery skin on) and plant the largest, healthiest cloves. Smaller cloves may produce bulbs, but they’ll be tiny. Save the biggest cloves for next year’s harvest!
How do I store garlic bulbs between plantings?
Store them in a cool, dry, dark place (50–60°F) with good airflow—like a mesh bag or open cardboard box. Avoid plastic bags (they trap moisture and rot). Check occasionally for mold or sprouting. Properly stored, they’ll last 6–12 months!
Wrapping up and next steps
Growing garlic from bulbs is a rewarding journey that yields bold flavors and bountiful harvests—perfect for container gardens! With the right soil, patience, and care, you’ll soon enjoy plump, healthy cloves straight from your own backyard.
Whether you’re a beginner or seasoned gardener, this process is totally doable and packed with satisfaction.
Ready to take the next step? Start by planting your bulbs this fall—your future meals will thank you! 🌱 For extra tips, check out our FAQ section or explore other container gardening guides to expand your green thumb skills.